

Make a Stunning Card Hover Animations with Tailwind CSS
In this tutorial, we will show you a simple technique to make your landing page’s feature cards more appealing by adding a hover animation. It’s super easy to do but the results are amazing!
Basically, we’ll create two images for each card. When someone hovers over the card, the second image will smoothly replace the first one with a crossfade effect and a subtle upward transition. Let’s get started!
Building the HTML structure
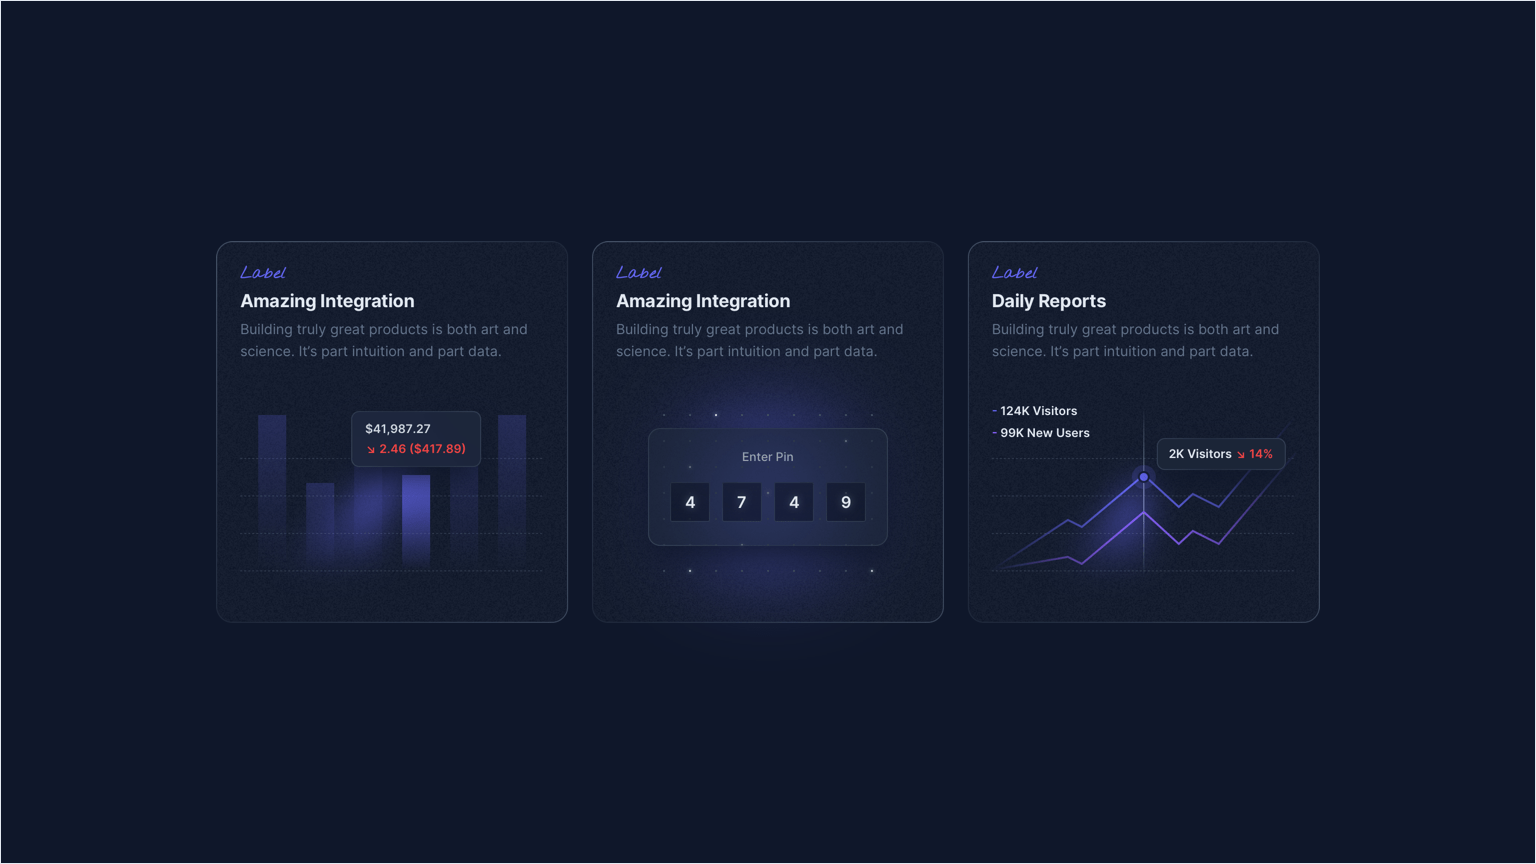
The demo we we are going to create consists of 3 cards arranged in a row using a CSS grid. Here is the structure for hosting the cards:
<section class="grid md:grid-cols-3 gap-6 max-md:max-w-xs mx-auto">

    <!-- Card #1 -->
    <!-- Card #2 -->
    <!-- Card #3 -->

</section>
On smaller screens we have a single column layout, whose maximum width is 320px (max-md:max-w-xs). By using the class md:grid-cols-3, we are enabling the 3-column layout starting from the breakpoint defined by the md: prefix in Tailwind (i.e. 728px).
Creating the cards
All cards will have the same structure, with only the text and image changing. Here is the HTML for a single card:
<div class="[background:linear-gradient(theme(colors.slate.900),theme(colors.slate.900))_padding-box,linear-gradient(45deg,theme(colors.slate.800),theme(colors.slate.600/.8),theme(colors.slate.800))_border-box] relative before:absolute before:inset-0  before:bg-[length:352px_382px] before:rounded-[inherit] rounded-2xl border border-transparent">
    <div class="relative">
        <div class="px-6 py-5">
            <div class="font-nycd text-lg text-indigo-500 mb-1">Label</div>
            <div class="text-lg font-bold text-slate-200 mb-1">Daily Reports</div>
            <p class="text-sm text-slate-500">Building truly great products is both art and science. It's part intuition and part data.</p>
        </div>
        <div>
            <img src="./card-01.png" width="350" height="240" alt="Card image 01">
        </div>
    </div>
</div>
The code above gives us a card with a gradient border and a background that adds some grainy texture. Inside the card, we have some text and the image that we will animate when the user hovers over the card.
Overlaying the second image
Now, to achieve the animation effect, we need two images: one visible by default (card-01.png) and another displayed on hover (card-01-hover.png). The former is already in place; now let’s add the latter:
<div class="[background:linear-gradient(theme(colors.slate.900),theme(colors.slate.900))_padding-box,linear-gradient(45deg,theme(colors.slate.800),theme(colors.slate.600/.8),theme(colors.slate.800))_border-box] relative before:absolute before:inset-0  before:bg-[length:352px_382px] before:rounded-[inherit] rounded-2xl border border-transparent">
    <div class="relative">
        <div class="px-6 py-5">
            <div class="font-nycd text-lg text-indigo-500 mb-1">Label</div>
            <div class="text-lg font-bold text-slate-200 mb-1">Daily Reports</div>
            <p class="text-sm text-slate-500">Building truly great products is both art and science. It's part intuition and part data.</p>
        </div>
        <div class="relative">
            <img src="./card-01.png" width="350" height="240" alt="Card image 01">
            <img class="absolute top-0 left-0 opacity-0" src="./card-01-hover.png" width="350" height="240" alt="Card image 01 displaying on hover" aria-hidden="true">
        </div>
    </div>
</div>
To overlay the two images, we must position the second image absolutely relative to the first. The second image is initially invisible (opacity-0) and marked as not visible to screen readers (aria-hidden="true").
Creating the transition effect
The final step is defining the transition that occurs on card hover. We’ll use the group-hover modifier from Tailwind for this purpose:
<div class="group [background:linear-gradient(theme(colors.slate.900),theme(colors.slate.900))_padding-box,linear-gradient(45deg,theme(colors.slate.800),theme(colors.slate.600/.8),theme(colors.slate.800))_border-box] relative before:absolute before:inset-0  before:bg-[length:352px_382px] before:rounded-[inherit] rounded-2xl border border-transparent">
    <div class="relative">
        <div class="px-6 py-5">
            <div class="font-nycd text-lg text-indigo-500 mb-1">Label</div>
            <div class="text-lg font-bold text-slate-200 mb-1">Daily Reports</div>
            <p class="text-sm text-slate-500">Building truly great products is both art and science. It's part intuition and part data.</p>
        </div>
        <div class="relative group-hover:-translate-y-1 transition-transform duration-500 ease-in-out">
            <img class="group-hover:opacity-0 transition-opacity duration-500" src="./card-01.png" width="350" height="240" alt="Card image 01">
            <img class="absolute top-0 left-0 opacity-0 group-hover:opacity-100 transition-opacity duration-500" src="./card-01-hover.png" width="350" height="240" alt="Card image 01 displaying on hover" aria-hidden="true">
        </div>
    </div>
</div>
In the code above, we added the group class to the card div. This allows us to use the group-hover prefix to hide the initial image on card hover and simultaneously reveal the second image.
Then, to achieve a crossfade effect, we added the transition-opacity class to both images, and the duration-500 class to set a duration of 0.5 seconds.
Finally, to make it even better, we added the group-hover:-translate-y-1 class to the div that holds the images. This class moves the image 4px up when the card is hovered over. Of course, we also needed to add some transition effects for this to work smoothly. So, we added the classes transition-transform, duration-500, and ease-in-out.
Now we can put it all together:
<section class="grid md:grid-cols-3 gap-6 max-md:max-w-xs mx-auto">
    <!-- Card #1 -->
    <div
        class="group [background:linear-gradient(theme(colors.slate.900),theme(colors.slate.900))_padding-box,linear-gradient(45deg,theme(colors.slate.800),theme(colors.slate.600/.8),theme(colors.slate.800))_border-box] relative before:absolute before:inset-0  before:bg-[length:352px_382px] rounded-2xl border border-transparent">
        <div class="relative">
            <div class="px-6 py-5">
                <div class="font-nycd text-lg text-indigo-500 mb-1">Label</div>
                <div class="text-lg font-bold text-slate-200 mb-1">Daily Reports</div>
                <p class="text-sm text-slate-500">Building truly great products is both art and science. It's part
                    intuition and part data.</p>
            </div>
            <div class="relative group-hover:-translate-y-1 transition-transform duration-500 ease-in-out">
                <img class="group-hover:opacity-0 transition-opacity duration-500" src="./card-01.png" width="350"
                    height="240" alt="Card image 01">
                <img class="absolute top-0 left-0 opacity-0 group-hover:opacity-100 transition-opacity duration-500"
                    src="./card-01-hover.png" width="350" height="240" alt="Card image 01 displaying on hover"
                    aria-hidden="true">
            </div>
        </div>
    </div>
    <!-- Card #2 -->
    <div
        class="group [background:linear-gradient(theme(colors.slate.900),theme(colors.slate.900))_padding-box,linear-gradient(45deg,theme(colors.slate.800),theme(colors.slate.600/.8),theme(colors.slate.800))_border-box] relative before:absolute before:inset-0  before:bg-[length:352px_382px] rounded-2xl border border-transparent">
        <div class="relative">
            <div class="px-6 py-5">
                <div class="font-nycd text-lg text-indigo-500 mb-1">Label</div>
                <div class="text-lg font-bold text-slate-200 mb-1">Advanced Security</div>
                <p class="text-sm text-slate-500">Building truly great products is both art and science. It's part
                    intuition and part data.</p>
            </div>
            <div class="relative group-hover:-translate-y-1 transition-transform duration-500 ease-in-out">
                <img class="group-hover:opacity-0 transition-opacity duration-500" src="./card-02.png" width="350"
                    height="240" alt="Card image 02">
                <img class="absolute top-0 left-0 opacity-0 group-hover:opacity-100 transition-opacity duration-500"
                    src="./card-02-hover.png" width="350" height="240" alt="Card image 02 displaying on hover"
                    aria-hidden="true">
            </div>
        </div>
    </div>
    <!-- Card #3 -->
    <div
        class="group [background:linear-gradient(theme(colors.slate.900),theme(colors.slate.900))_padding-box,linear-gradient(45deg,theme(colors.slate.800),theme(colors.slate.600/.8),theme(colors.slate.800))_border-box] relative before:absolute before:inset-0  before:bg-[length:352px_382px] rounded-2xl border border-transparent">
        <div class="relative">
            <div class="px-6 py-5">
                <div class="font-nycd text-lg text-indigo-500 mb-1">Label</div>
                <div class="text-lg font-bold text-slate-200 mb-1">Powerful Analytics</div>
                <p class="text-sm text-slate-500">Building truly great products is both art and science. It's part
                    intuition and part data.</p>
            </div>
            <div class="relative group-hover:-translate-y-1 transition-transform duration-500 ease-in-out">
                <img class="group-hover:opacity-0 transition-opacity duration-500" src="./card-03.png" width="350"
                    height="240" alt="Card image 03">
                <img class="absolute top-0 left-0 opacity-0 group-hover:opacity-100 transition-opacity duration-500"
                    src="./card-03-hover.png" width="350" height="240" alt="Card image 03 displaying on hover"
                    aria-hidden="true">
            </div>
        </div>
    </div>
</section>
Conclusions
Implementing micro-interactions, such as the one demonstrated in this tutorial, adds interest and engagement to your landing page. The key to success lies in moderation — avoid overdoing effects and maintain a clean, minimalist approach.
We hope you’ve enjoyed this tutorial. If you have any questions of feedback, don’t hesitate to get in touch with us!