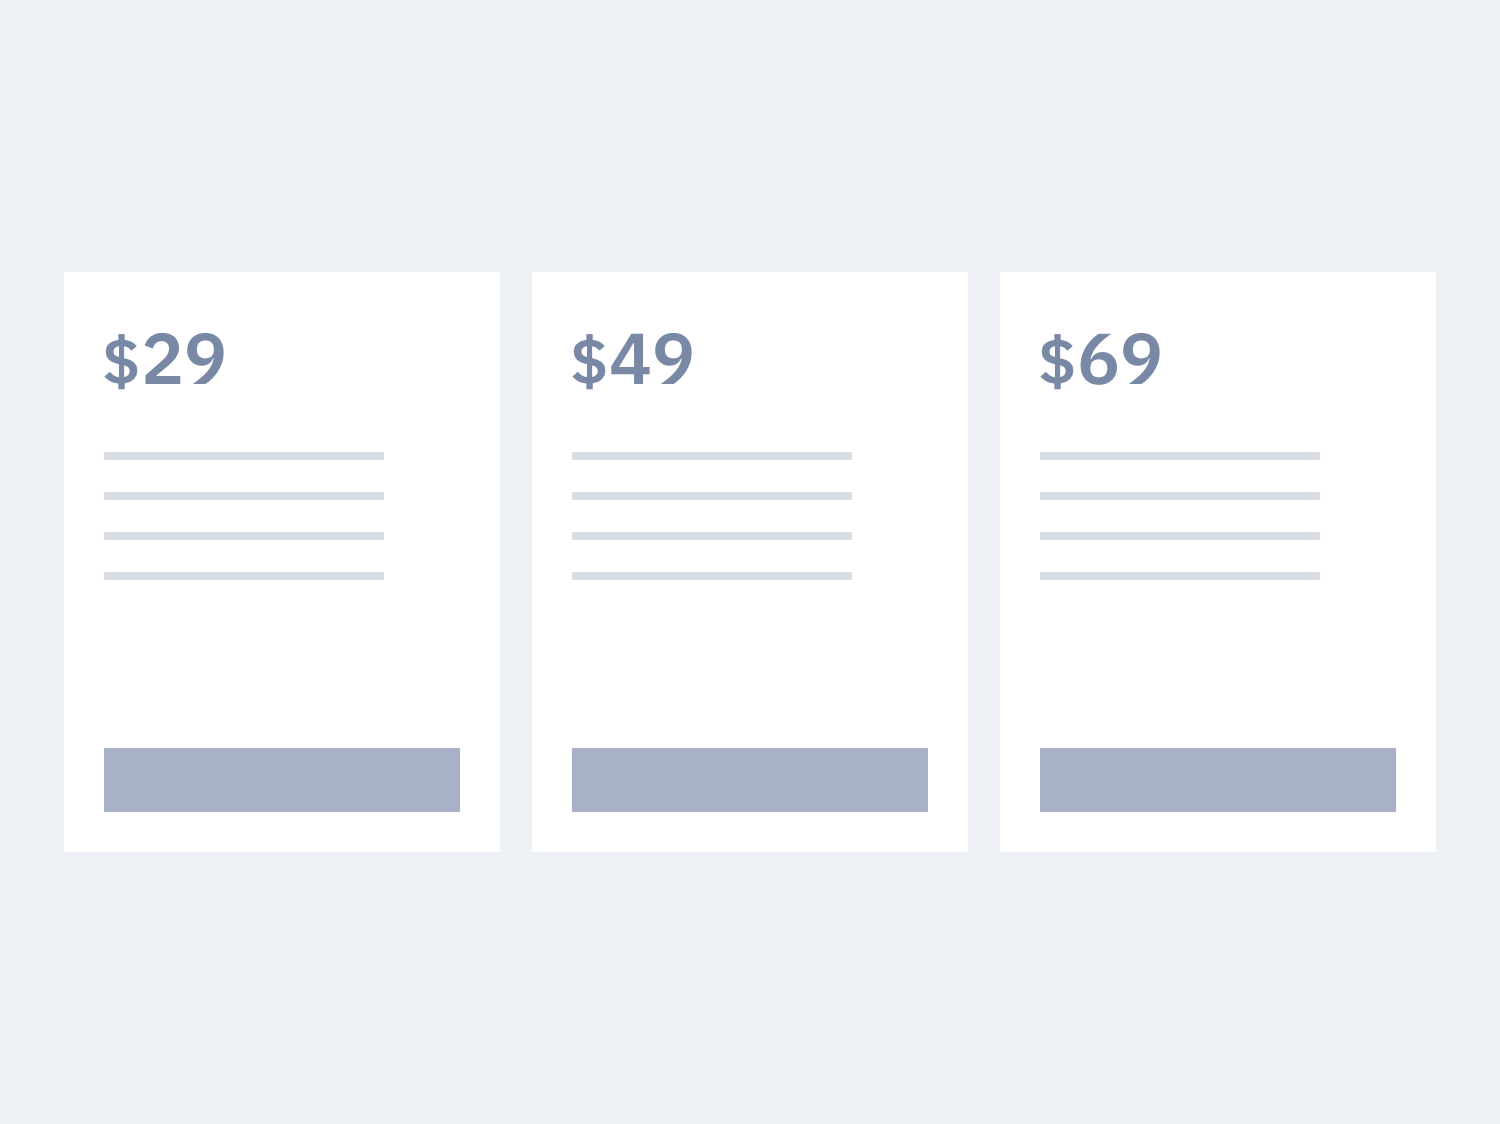
It’s a section to display pricing tabs.

Pricing switcher
The pricing switcher is an add-on for the pricing section, based on the switch element. It can be useful for toggling between monthly/annual prices.
Prior to v2.4.1
In the HTML template you need to set data-pricing-monthly and data-pricing-annually attributes and add the .pricing-switchable class on every element you want to change when switching the pricing toggle.
In React and Vue, you can simply use a ternary operator to decide what to display on the toggle switch. Take a look at the templates to see how it works.
Since v2.4.1
In the HTML template you need to pass data via a data-price-output attribute to the .pricing-item-price element:
<div class="pricing-item-price" data-price-output='{
    "0": ["$", "35", "monthly"],
    "1": ["$", "27", "annually"]
}'>
0 stands for “unchecked” and 1 for “checked”.
- The dollar sign will be outputted in the
.pricing-item-price-currencyelement - The amount will be outputted in the
.pricing-item-price-amountelement - The period will be outputted in the
.pricing-item-price-afterelement
In React and Vue, you will need to set a priceOutput state / data. Take a look at the templates to see how it works.
Pricing slider
The pricing slider is an add-on for the pricing section, introduced in v2.4.1.
In the HTML template you need to pass input and output data.
Input data is passed via a data-price-input attribute to the <input type="range" /> element:
<input type="range" data-price-input='{
    "0": "1,000",
    "1": "1,250",
    "2": "1,500",
    "3": "2,000",
    "4": "2,500",
    "5": "3,500",
    "6": "6,000",
    "7": "15,000",
    "8": "50,000"
}'>
Output data looks a little different for structure, since each value is not a string, but an array of strings.
<div class="pricing-item-price" data-price-output='{
    "0": ["", "Free", ""],
    "1": ["$", "13", "/m"],
    "2": ["$", "17", "/m"],
    "3": ["$", "21", "/m"],
    "4": ["$", "25", "/m"],
    "5": ["$", "42", "/m"],
    "6": ["$", "58", "/m"],
    "7": ["$", "117", "/m"],
    "8": ["$", "208", "/m"]
}'>- The dollar sign will be outputted in the
.pricing-item-price-currencyelement - The amount will be outputted in the
.pricing-item-price-amountelement - The period will be outputted in the
.pricing-item-price-afterelement
In React and Vue, you will need to set priceInput and priceOutput states / data. Take a look at the templates to see how it works.
Component files
📋 React
👉 src/components/sections/Pricing.js
📋 Vue
👉 src/components/sections/Pricing.vue
Theming
Style is defined into 3 files:
📋 Core file
src/assets/scss/core/sections/_pricing.scss
👆🚫 Don’t edit this file!
📋 Settings file
src/assets/scss/settings/sections/_pricing.scss
👆 Use this to adjust Sass variables
📋 Theme file
src/assets/scss/theme/sections/_pricing.scss
👆 Use this to add custom CSS